

Let's make some cute sunburts looking tie-dye shirts!
Things you'll need:

- Shirt (any color)
- Gloves
- Fabric tie-dye
- Something to stir your dye and poke your shirts to make circles (I'm using chopsticks)
- Rubber bands
- Plastic bag/ziploc bag
- Salt
- Measuring spoons

You'll also need a bucket to fill up with hot water to mix your salt & dye in!
How to make the sunburst effect:


This is how it should turn out! Something like this!


After you let it stand for 24 hours (I just waited like two hours, LOL) remove your rubber bands.
My mommy helped me out and hand washed my shirt!
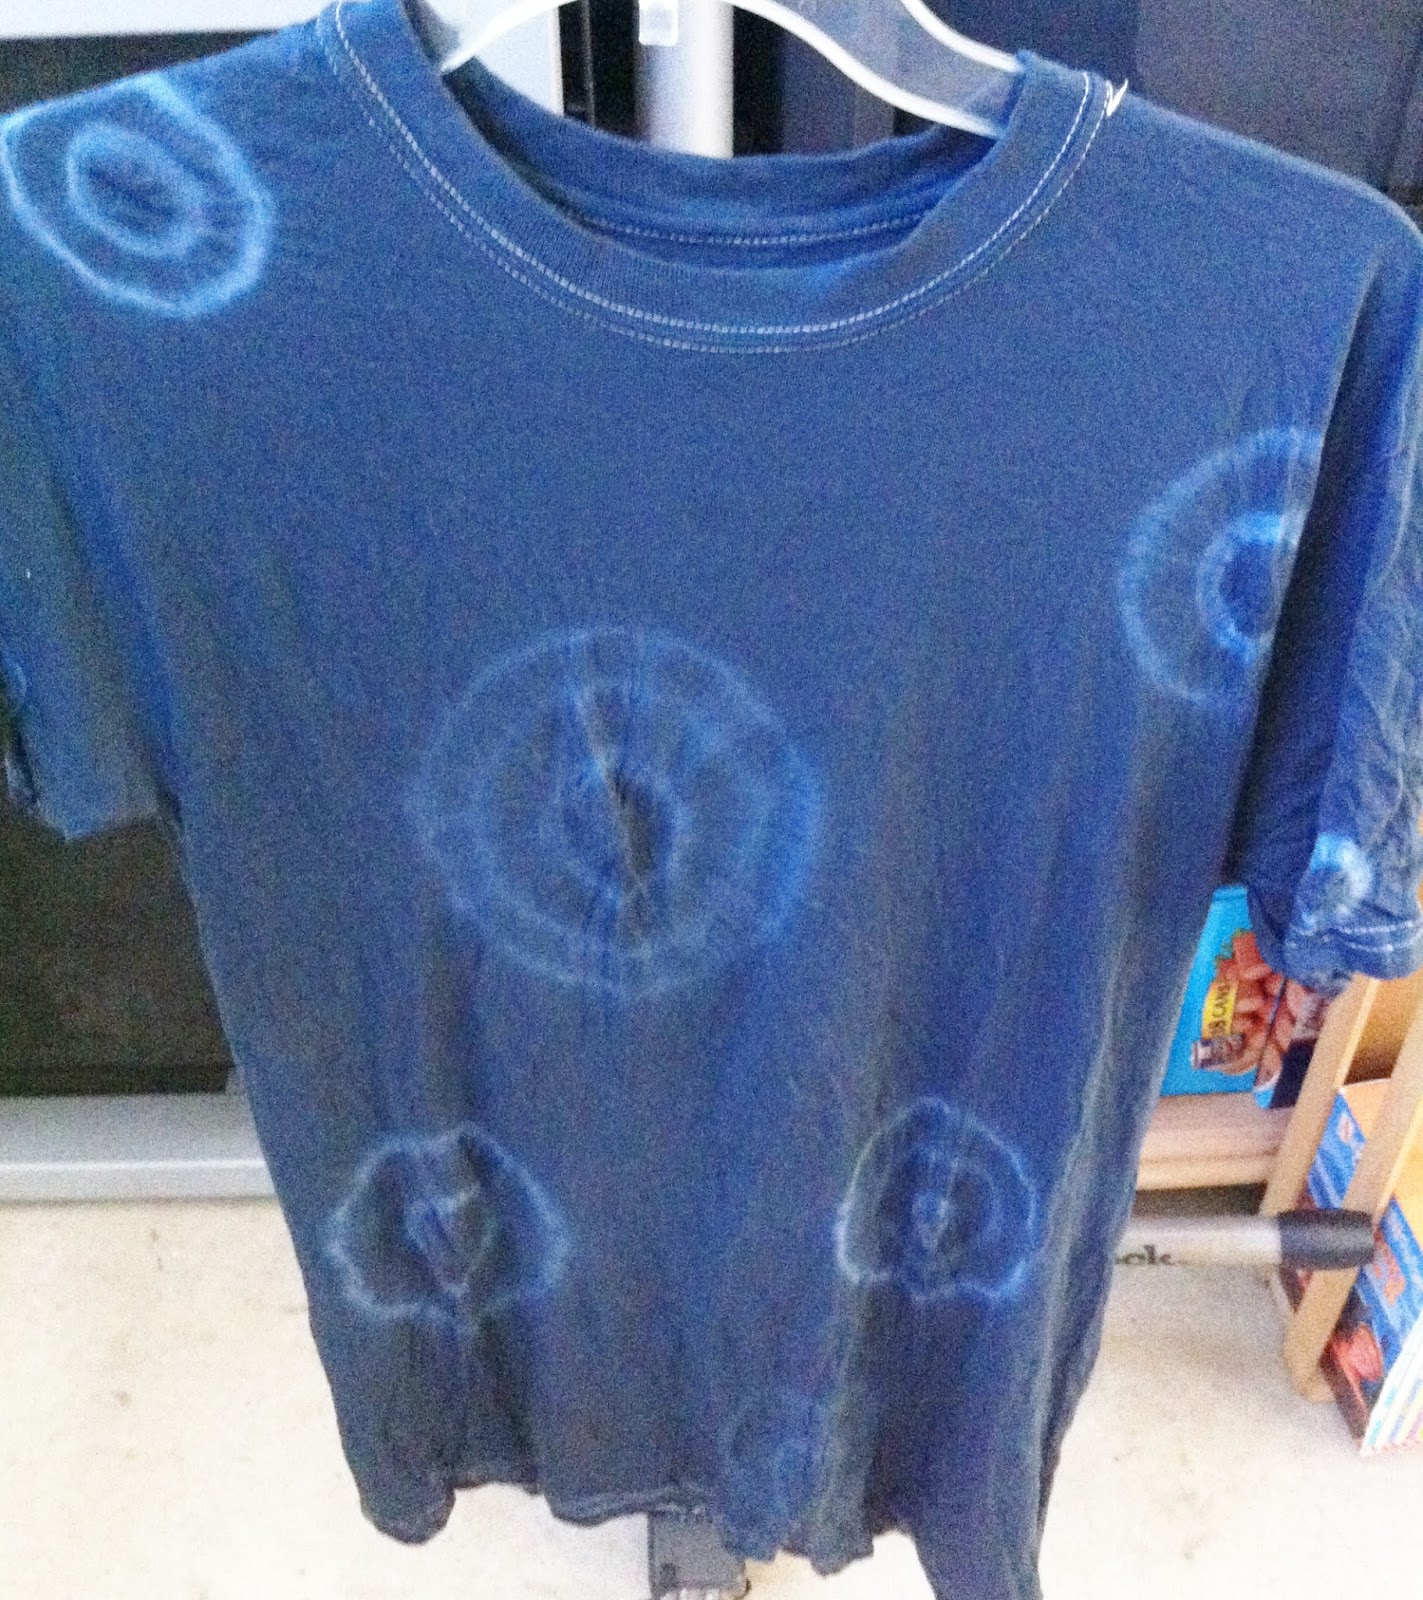
She threw it into the dryer after hand washing it, and it ended up looking like this! Of course, I cut it up and made it all pretty! You guys will be able to see all that good stuff soon! Because I'm using this for my school's first spirit week! Anyway, since I didn't wait 24 hours, I guess, the color didn't turn out black. Instead, it turned out to be a light grey looking shirt, BUT IT'S STILL PURTTY.
Next, let's make a cute flower headband!
Things you'll need:

- Hot glue gun with glue sticks
- Stretchy braided elastic
- Flower embellishments (color of your choice!)
- I forgot to include this, but of course, you'll need a pair of scissors to cut the elastic

Measure the elastic around your head. I used a bobby pink to save the spot where I would glue the ends together!

Before I started gluing everything onto the elastic, I put the flowers into different categories? Lol. Like, there were two different flowers, but three different colors, so I separated them by the type of flower and color! And so there were 6 groups of eight :) Then, I put them in a line and made a pattern! :)


After, I grabbed a flower, put some glue onto it, and then placed it onto the elastic!
I left less than an inch on in between each flower :) But, it's all up to you how much space you'd like to leave in between each flower!

This is how it turned out! And I even had a lot more flowers left! So, you can always make another one for your mom or a friend!
I also ended up another shirt of mine, but I didn't take any pictures of it. Except for this one, so yeah! All I did was grab an old "shirt" that was like too long for a shirt and too short to be a dress. I cut the bottom to make it like a crop top. Then, I sketched out a heart onto printing paper (because I was too lazy to print one off the internet) and I traced it onto my shirt with a grey marker and then cut it out on the back! The other grey shirt next to it is the end result of my tie-dye shirt! I fringed it at the bottom and tied a knot on the top and bottom of the fringe! So yeah! I know it's really hard to just look at pictures and figure things out. But, I believe you guys are smart enough to figure it out ;) Have fun doing your DIY projects!
